Photography Tips for Real Estate Listings: Make Your Property Shine Online
Summary
Elevate your real estate listings with stunning photos! This guide provides practical tips for showcasing your property online, from lighting and staging to composition and editing, attracting more buyers and selling faster.

Selling your home is more than putting up a “For Sale” sign and hoping someone shows up. In today’s world, buyers start their search online, scrolling through hundreds of listings on portals like Magicbricks, 99acres, Housing.com, and even Google Maps. In this digital-first era, the photos you share can make or break your listing. A home with dull, dark, or cluttered images will be ignored, while a property that’s bright, clear, and well-composed draws attention, encourages inquiries, and ultimately sells faster—and often for a better price.
Whether you’re a first-time seller or a seasoned one, mastering real estate photography is essential. The good news is you don’t always need professional gear or a massive budget to create stunning images—just a little preparation, awareness, and strategy. Let’s dive into practical tips to make your property shine online.
1. First Impressions Are Everything
Think about your own experience searching for a home. Which listings catch your eye? Typically, it’s the ones with clean, bright, and inviting photos. Your first image—the cover photo—is critical because it’s often the first impression buyers have. A beautiful living room, a balcony with a view, or a spacious kitchen can make someone stop scrolling and click on your listing.
Avoid blurry, dark, or cluttered photos. These images make the home feel unkempt or undervalued, and buyers may scroll past without a second thought. Remember, your photos introduce your home to the world, so make that introduction count.
2. Let Natural Light Work Its Magic
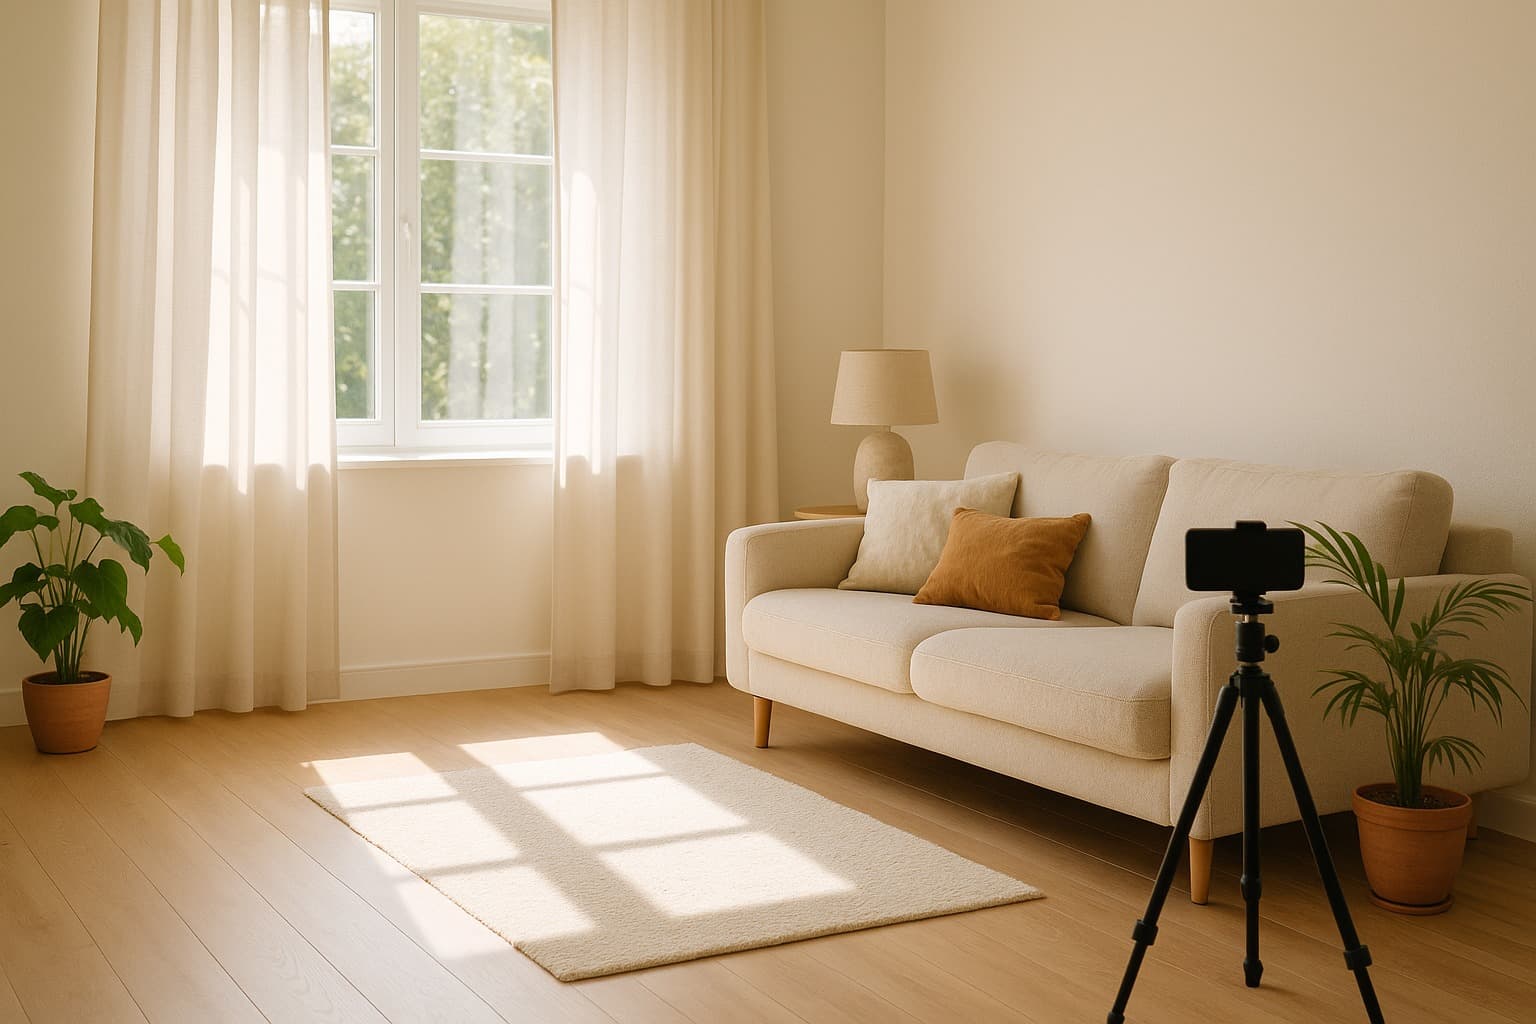
Lighting can completely transform a room in photos. Natural light makes spaces feel larger, warmer, and more welcoming.
Open all curtains and blinds before taking pictures to let sunlight in.
Shoot during the morning or late afternoon when the light is soft and flattering. Avoid harsh midday sunlight that creates strong shadows.
Keep indoor lights on as well to brighten darker corners.
Avoid relying solely on your camera’s flash. Flash can flatten rooms, cast harsh shadows, and create an artificial look that doesn’t do justice to your home.
3. Declutter and Stage for Photography
A photo can only look as good as what’s in the frame. Decluttering and staging your home is essential:
Remove personal items, unnecessary furniture, and clutter. Buyers should be able to imagine themselves living in the space.

Stage key areas with simple touches: fresh flowers, neatly arranged cushions, or a clean dining table.
Highlight lifestyle elements: a cozy reading nook, a bright kitchen, or a balcony with plants.
When a space looks lived-in but uncluttered, it creates an emotional connection with potential buyers.
4. Focus on Angles and Composition
How you frame your shots is just as important as lighting:
Shoot from corners: This gives a sense of depth and shows more of the room in a single frame.
Eye-level shots: Keep your camera at eye level for natural perspective. Avoid shots that are too high or low, as they can distort the space.
Highlight key features: Show off a modern kitchen, spacious bathroom, balcony view, or unique architectural detail.
Careful composition ensures your photos feel professional and inviting. Avoid extreme wide-angle lenses unless you know how to use them—they can distort proportions.
5. Capture Every Room and Amenity
Buyers want a complete picture of your property.
Include shots of all living spaces, bedrooms, bathrooms, kitchen, and outdoor areas like gardens, balconies, or terraces.
Don’t forget amenities: parking spaces, swimming pools, or gyms if they’re part of your property.
Highlight small but important details: built-in shelves, modern appliances, or storage solutions.
A comprehensive gallery reassures buyers that they understand the home fully before visiting in person.
6. Keep Your Camera Steady
Shaky or blurry photos can ruin an otherwise perfect shot:
Use a tripod whenever possible, even a basic one. It stabilizes the camera and allows for longer exposure in low light.
If shooting handheld, keep your elbows tucked in and take multiple shots to increase the chances of a sharp photo.
Sharp, clear photos convey professionalism and build trust with potential buyers.
7. Edit Thoughtfully
Editing can enhance your photos—but moderation is key:
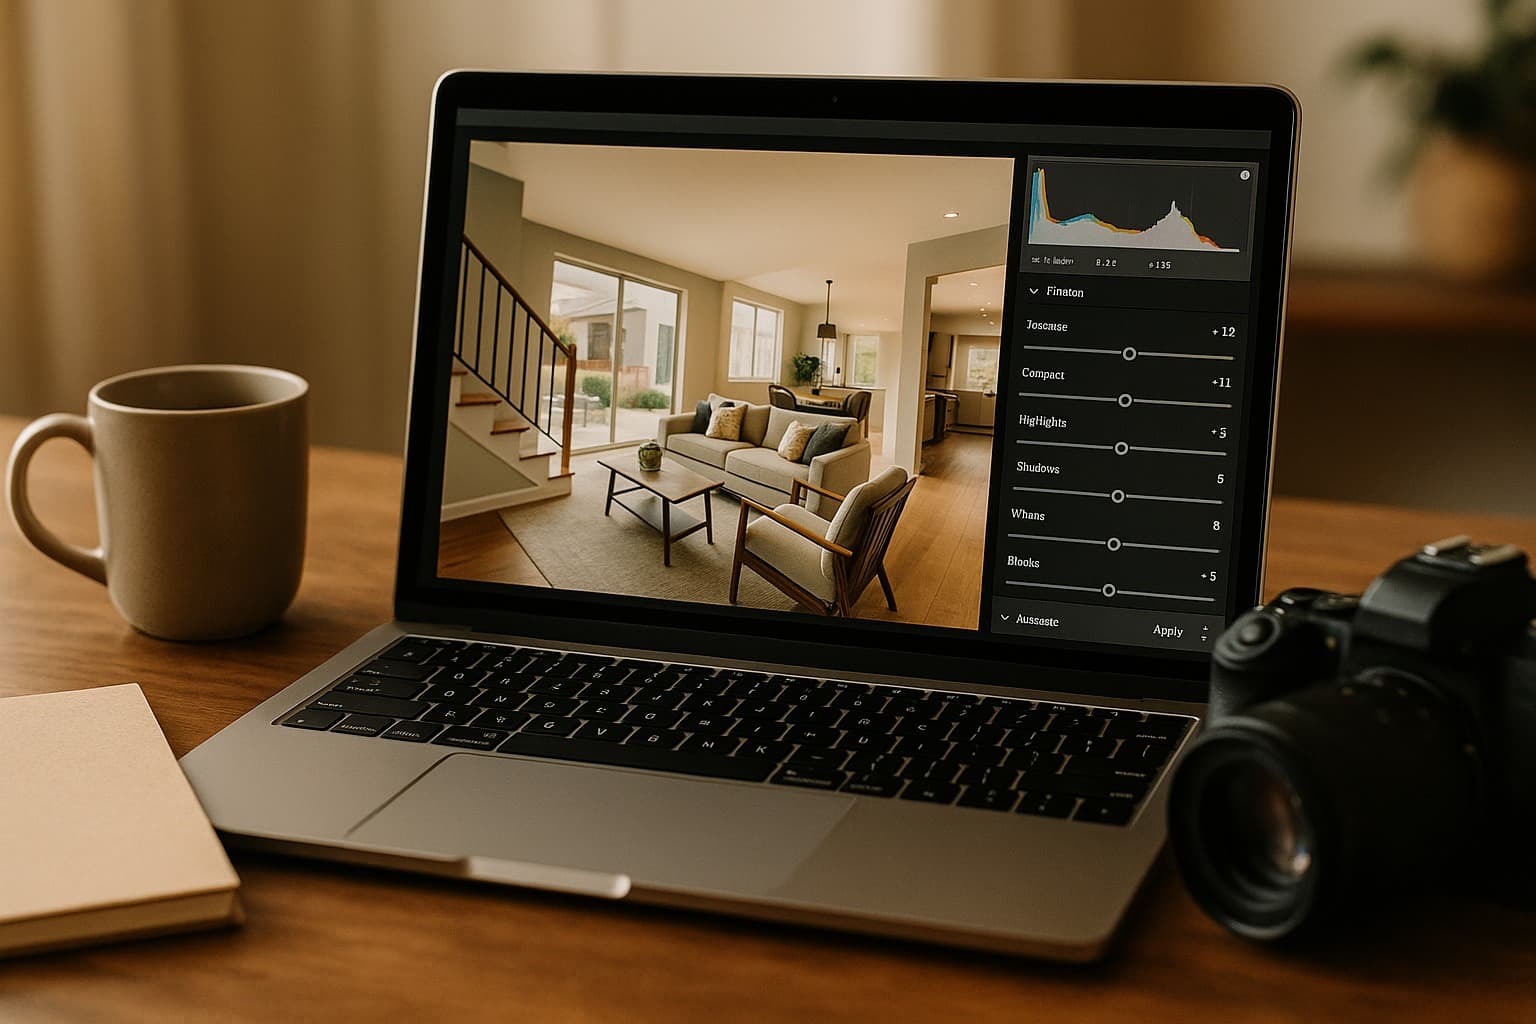
Adjust brightness, contrast, and color balance to reflect the home accurately.
Crop out distractions, but don’t misrepresent the space.
Enhance clarity and sharpness slightly to make images pop, but avoid filters that distort reality.
Remember, buyers appreciate honesty. Misleading photos can lead to disappointment and wasted time during viewings.
8. Videos and Virtual Tours Can Make a Difference

In addition to photos, videos are increasingly important for real estate marketing:
A short walkthrough video helps buyers understand the flow and size of the home.
Drone shots or exterior videos highlight the neighborhood, street, and view.
Even a smartphone video, if steady and well-lit, can give buyers a real sense of the property.
Videos are particularly useful for NRIs or buyers who cannot visit in person immediately. They create an immersive experience that photos alone cannot.
9. Professional Help Pays Off
While DIY photography can work, a professional real estate photographer can elevate your listing:
Professionals understand lighting, angles, and composition to make spaces look inviting and spacious.
They often provide advanced options like 3D walkthroughs, drone photography, or panoramic shots.
Quality photos make your listing stand out, attract more inquiries, and can shorten the selling timeline.
If budget is tight, you can combine DIY shots for less important rooms with a professional photographer for high-traffic areas like the living room or kitchen.
10. Consistency and Storytelling Matter
Every photo should tell a story. Buyers aren’t just buying walls; they’re imagining a life in your home. Maintain consistent lighting, color, and perspective across all images to give a polished feel. Use captions or descriptions to provide context: “Bright master bedroom with morning sunlight” or “Cozy balcony for evening relaxation.” This approach builds an emotional connection and helps buyers visualize living there.
11. Summary (100 words)
High-quality real estate photography is key to attracting buyers and selling faster. Use natural light, decluttered and staged spaces, and strategic angles to showcase your home’s best features. Capture every room, amenity, and unique detail. Keep shots steady, edit thoughtfully, and complement images with videos or virtual tours. Consider professional photography for critical areas if your budget allows. Consistent, honest, and well-composed visuals tell a story, build trust, and encourage buyers to schedule viewings. With strong photography, your property stands out in a crowded market, leaving a lasting impression and ultimately helping you sell your home faster and more profitably.
